Antenna Selection Conundrum
We have been dealing with antennas close to 10 years now (adjusting and modifying your terrestrial TV Yagi antenna 20 years ago doesn’t count!). Having access to wide range of antenna from factories in the far east allow us to choose suitable antenna for our project and product. But in order to get the antenna with the specifications that we really wanted, one has to go through many iterative selection process to reach that goal. Prior to the release of the Mini Ultra Pro, we have been engaged in a year long wireless sensor network project in Australia that runs in the 915 MHz ISM band. We thought having already tested variety of antenna at 915 MHz band, selecting antennas for other frequency would be as easy as specifying the requirements and specifications to our antenna supplier. Boy oh boy, we were so wrong…
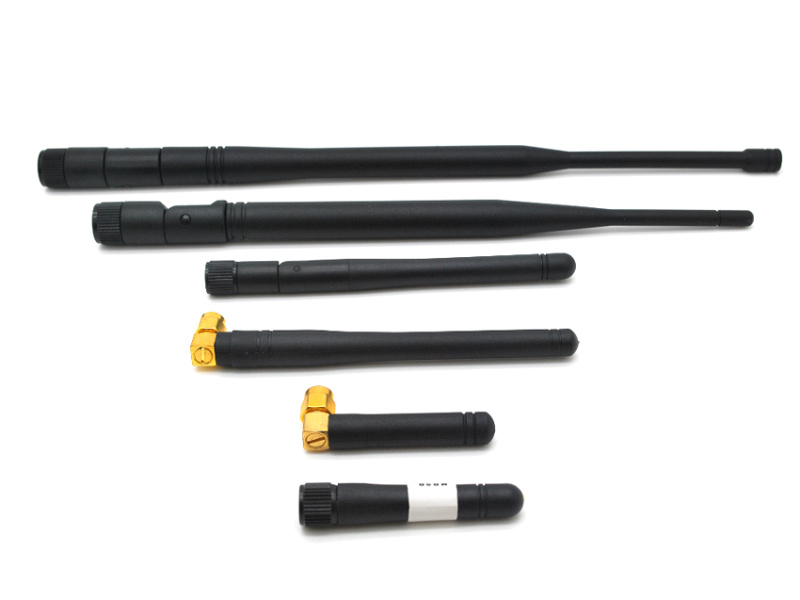
The Mini Ultra Pro that comes equipped with either the FSK based RFM69HCW or the LoRa based RFM95W radios aimed for medium and long range wireless communication usage. An efficient and good antenna must be used to achieve reliable communication over the intended range. The following are the few requirements that we specify when we inquire for suitable antennas from our antenna supplier:
- Frequency band of interest – 868 MHz, 915 MHz, or even multi-band.
- Gain – usually specified in dBi.
- Bandwidth – you’ll need to make sure the bandwidth is enough for your signal to pass through (usually twice at least of your maximum bandwidth).
- Voltage Standing Wave Ratio (VSWR) & Return Loss – both parameters indicate how much energy is reflected by the antenna when signal is fed to it.
- Impedance – 50 Ω generally but other values like 75 Ω are available too.
- Dimension and connector – whether you want the antenna to be right angle, straight, equipped with certain connector (SMA, SMB, etc).
- Cost – very important especially when used in high volume wireless sensor network deployment as it scales up pretty quickly.
- Quality – it is really not a good idea to climb a 10 m pole to exchange the antenna attached to your system thinking that it could be faulty.
Good antenna factories usually will have a wide range of antennas for you to select. And in the event where what you wanted is not in their catalog, they would be able to custom made for you. Apart from the antenna meeting your specification at least on paper, you will always need to verify their performance both in the lab and in the real world. What you have been told might not be the truth!
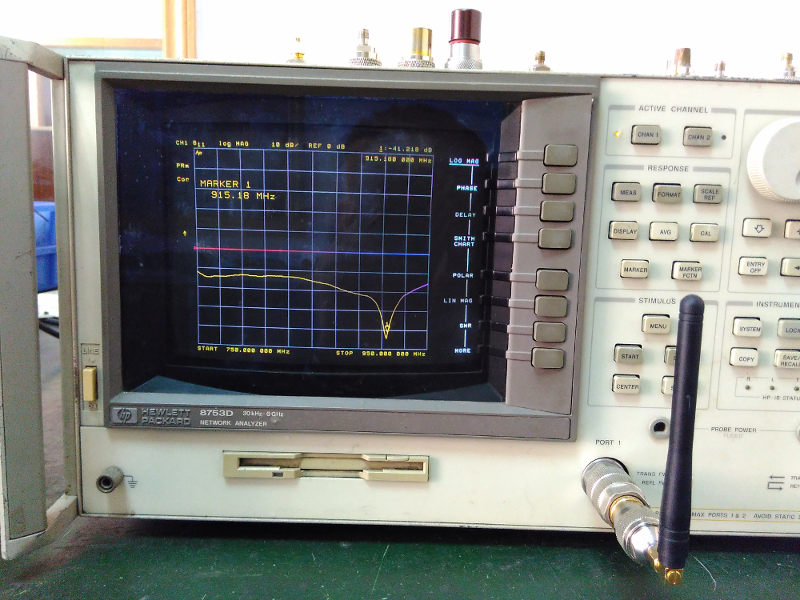
We used to get our friend to help to perform measurement on the antenna using a benchtop Vector Network Analyzer (VNA). These are very expensive machine that we couldn’t afford to buy but needed in certain scenario like antenna test. Our very kind friend usually takes like few days to do the measurement as access to the VNA machine is not always available. But, it is a very important step to basically filter out antennas that does not meet the specifications before performing other more time consuming test like outdoor range test. Here’s a screen shot of one of an antenna being tested using a VNA at our supplier’s factory.
Obviously, sending the antenna back and forth to the lab for testing is not really a bright idea but a very time consuming one. We know VNA machine are beyond our affordability and from there we look for other alternatives. We have heard of USB VNA before but never really look into it until we came into this antenna testing issue. We found several USB based VNA that uses a PC to run the graphical user interface software that fits within our budget and the frequency range of interest:
- miniVNA Tiny – support frequency up to 3 GHz, and software runs on all platform (Windows, Linux and Mac). Cost USD398.99.
- DG8SAQ VNWA – one of the earliest USB VNA, support frequency up to 1.3 GHz, and software runs on Windows only. Cost from USD469 to USD652 with variation in the included kits.
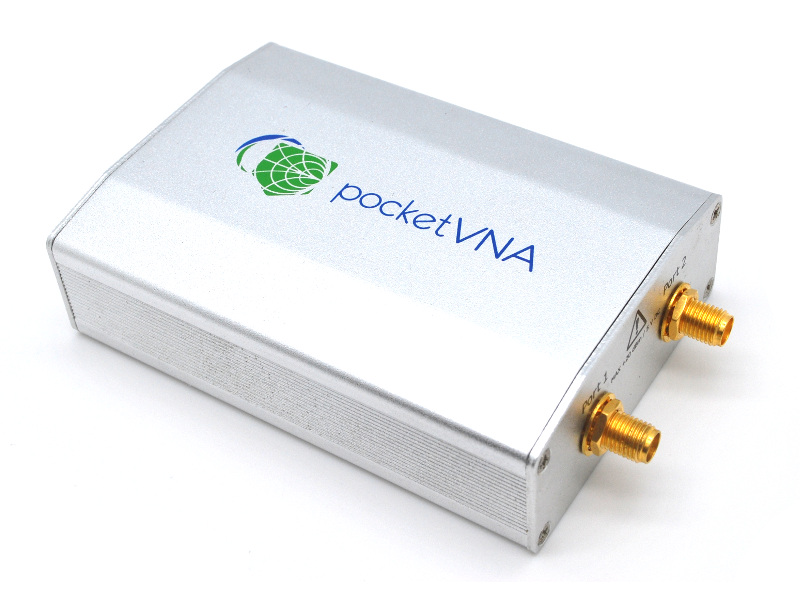
- pocketVNA – recently launched product, support frequency up to 4 GHz, and software runs on all platform (Windows, Linux and Mac). Cost USD430.
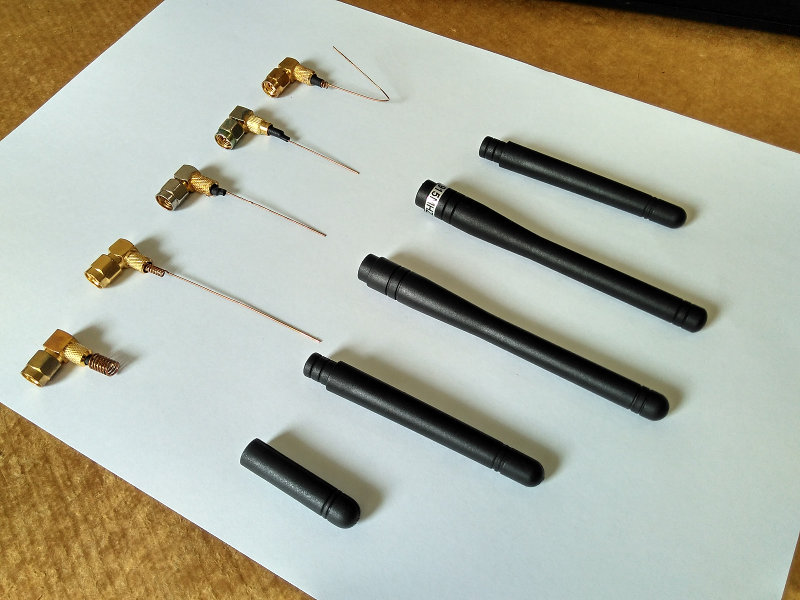
We needed the software to run on Linux (hate running VM!) and it needs to cover the frequency range that we work on (ISM band 868 MHz, 915 MHz, 2.4 GHz, GSM bands). We ended up with the pocketVNA and we can still remember vividly that we ordered it on Easter Day and they were having some promotion (free calibration kit and free express shipping, USD430 shipped!). Here’s how the pocketVNA looks like:
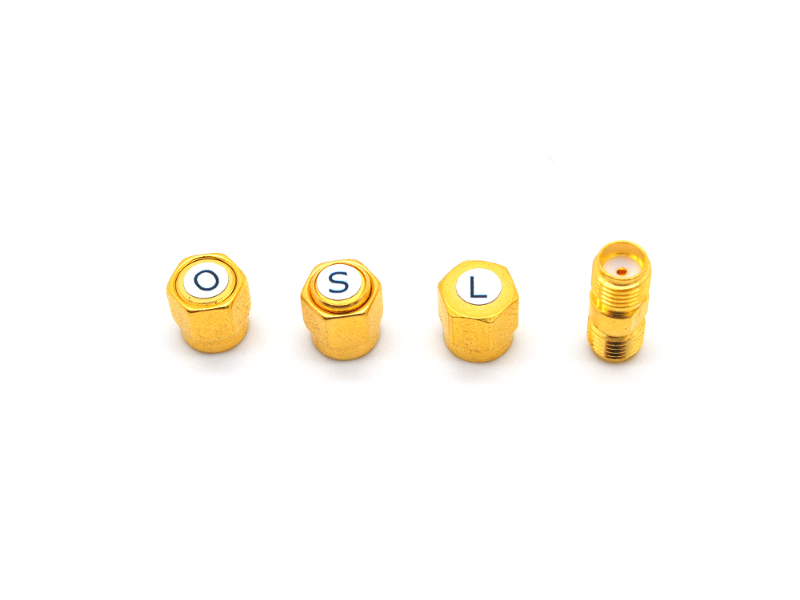
The folks over pocketVNA were nice enough to include the calibration kit for free. Performing calibration especially over the frequency range of interest before the actual measurement on your antenna is very important to achieve reliable measurement results.
 The software has a neat user interface that is very intuitive to use. The software is still pretty new and couple of small bugs can still be seen but overall it is very pleasant to work with. We use the pocketVNA to measure the S11 and VSWR performance mainly. An example measurement of our 868 MHz antenna (yes, we were having problem getting the correct antenna running at this band!) is shown here.
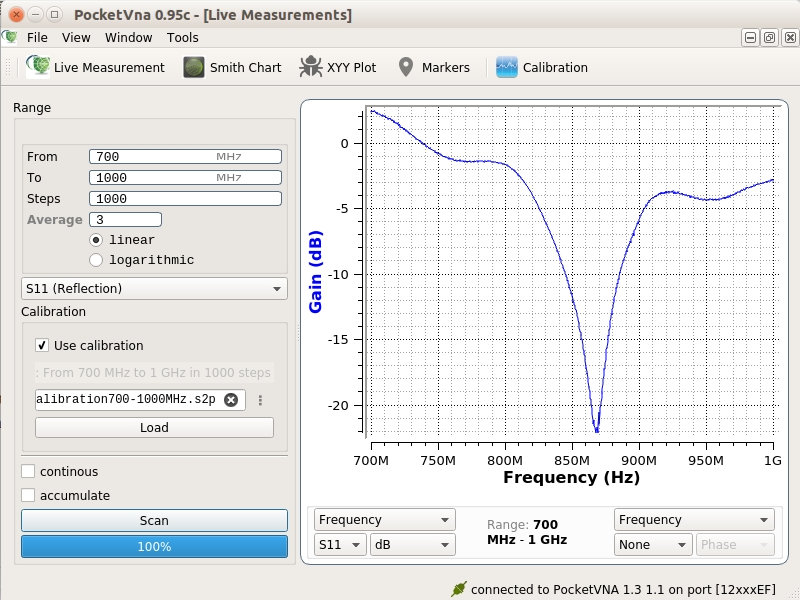
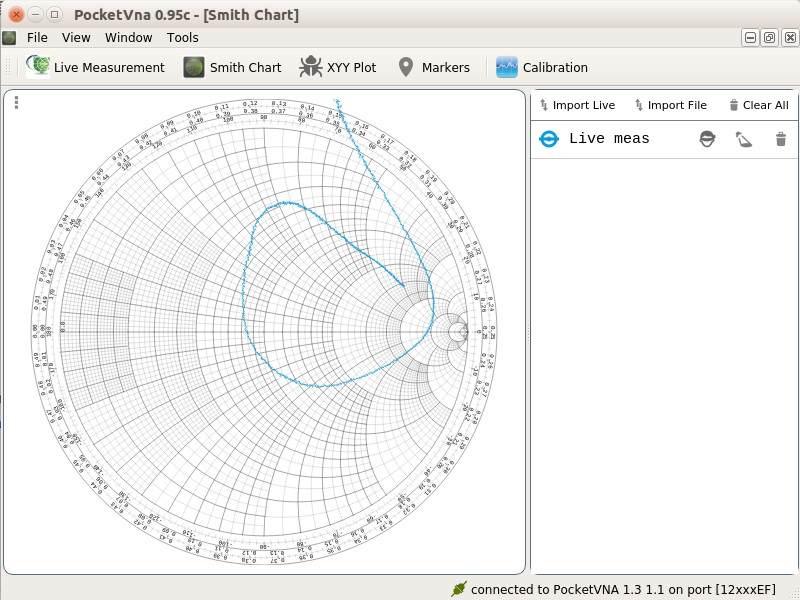
The software also provide Smith Chart graphical interface that allows you further evaluate the measurement data especially impedance matching characteristic at frequency band of interest.
Although the pocketVNA accuracy of measurement will not be as accurate as an expensive benchtop VNA (that could cost you one year of salary as an engineer), it allows us to filter out antennas that are out of specifications. Every antennas that we received from our antenna supplier are tested and verified with the pocketVNA. By running this measurement we were able to detect wrongly tuned antennas, broken internal antenna structure, and other reason related to manufacturing process. We would usually remove the protective rubber sleeve of the antennas that are considered bad to check and confirm whether it’s a faulty unit.
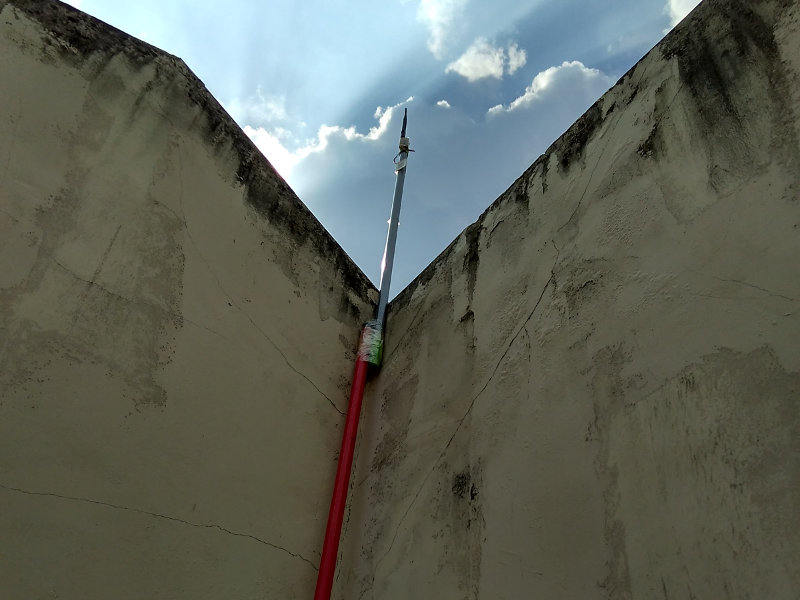
Once the antennas are sorted out, we perform a radio range test using these “good” antennas with our Mini Ultra Pro board like the one we did here with the RFM69HCW. This radio range test usually takes hours and hours of setting up (like climbing the rooftop to mount the stationery unit) and driving around with the other mobile unit of the board. Try repeating that cycle for various antennas and frequency! This is how we select the antennas that we sell on our shop!
Now, as the antenna issues are all sorted out, we can concentrate on the production of the Mini Ultra Pro especially the 868 MHz version for Europe usage.
Take care and happy tinkering!


Leave a Reply
Want to join the discussion?Feel free to contribute!